Monday, November 8, 2010

Tastes like bitter

So I love the new Taylor Swift cd. Love, love, love. I've had it on repeat all weekend.

But is it just me, or does girlfriend drift too far into Bittertown on a few of these tracks? I get wanting to speak your mind, but I've always thought of Tay-Tay as a lady on the high road.

Maybe it's time to reconsider that. Just sayin'.


And I can see you years from now in a bar,
Talking over a football game,
With that same big loud opinion but,
Nobody’s listening,
Washed up and ranting about the same old bitter things,
Drunk and grumbling on about how I can’t sing.

But all you are is mean,
All you are is mean.
And a liar, and pathetic, and alone in life,
And mean, and mean, and mean, and mean


She's not a saint and she's not what you think
She's an actress, Whoa
She's better known for the things that she does
on the mattress, Whoa
Soon she's gonna find
Stealing other people's toys on the playground
Won't make you many friends
She should keep in mind,
She should keep in mind
There is nothing I do better than revenge, Ha


Well maybe it's me and my blind optimism to blame
Maybe it's you and your sick need to give love then take it away
And you'll add my name to your long list of traitors who don't understand
And I'll look back and regret how I ignored when they said "run as fast as you can"

Thursday, November 4, 2010

Halloween craftiness

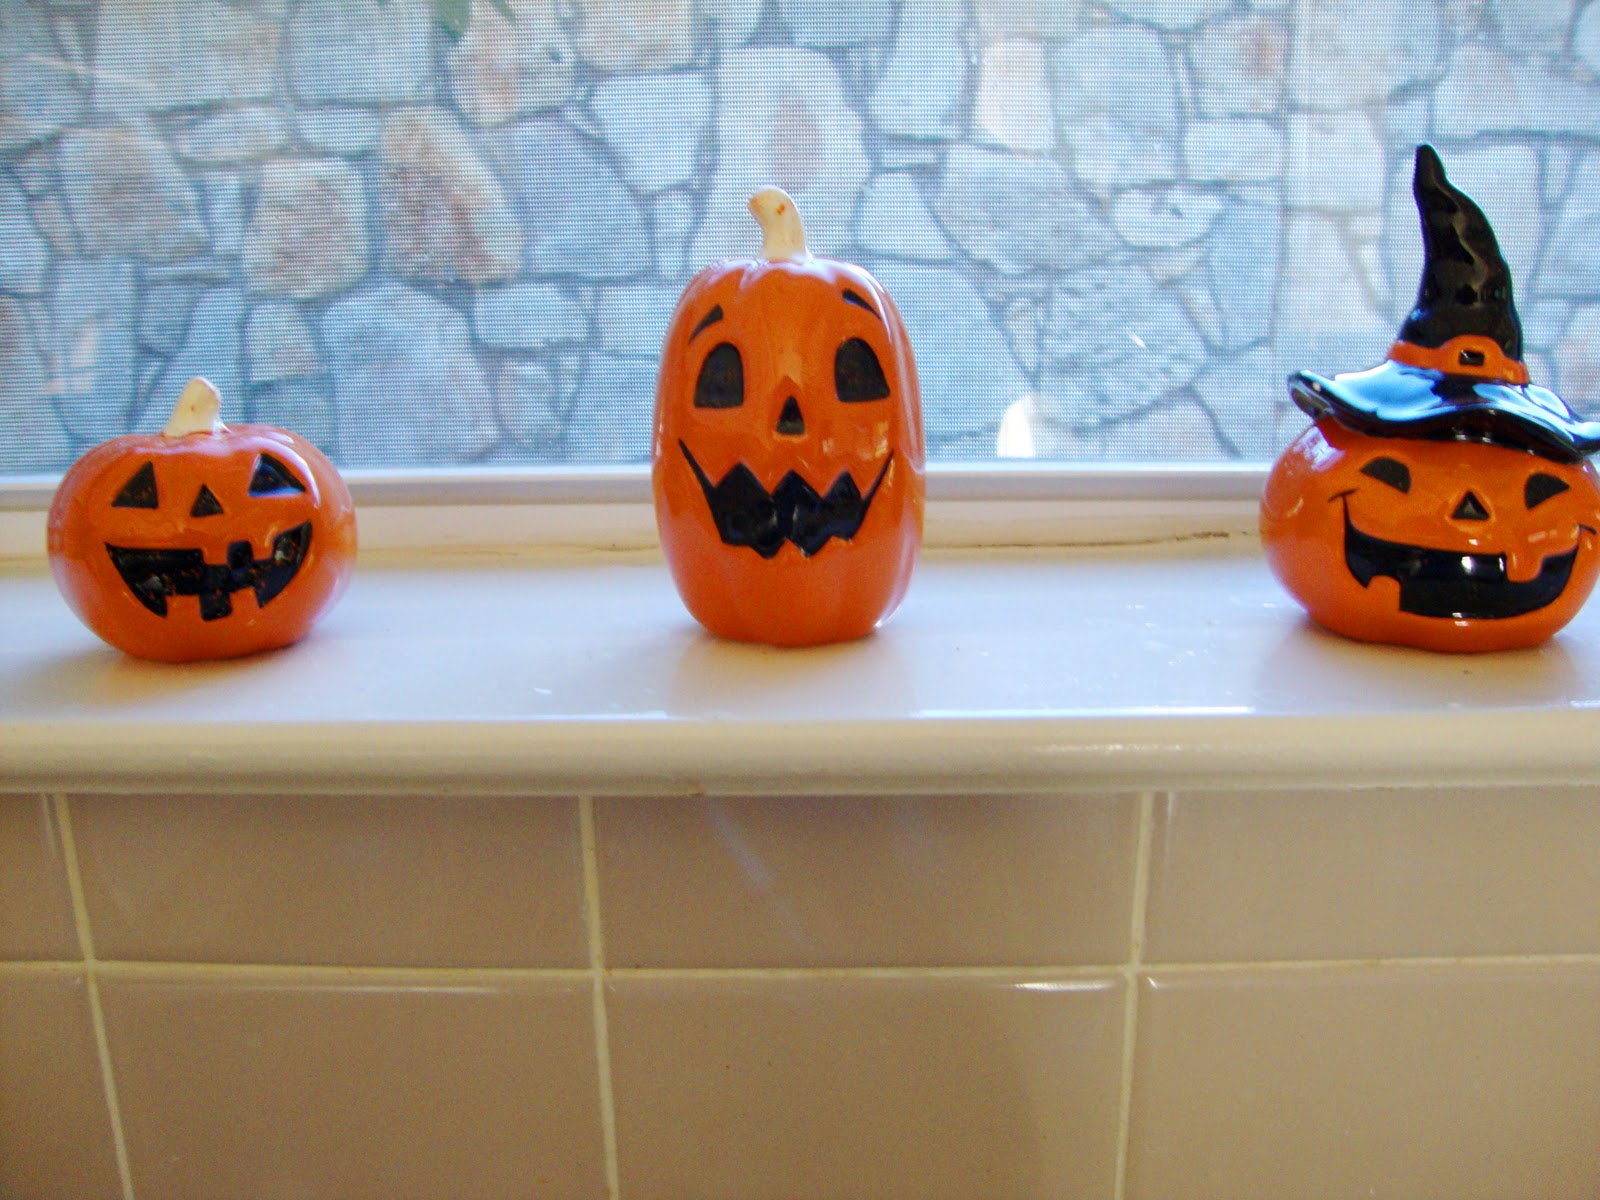
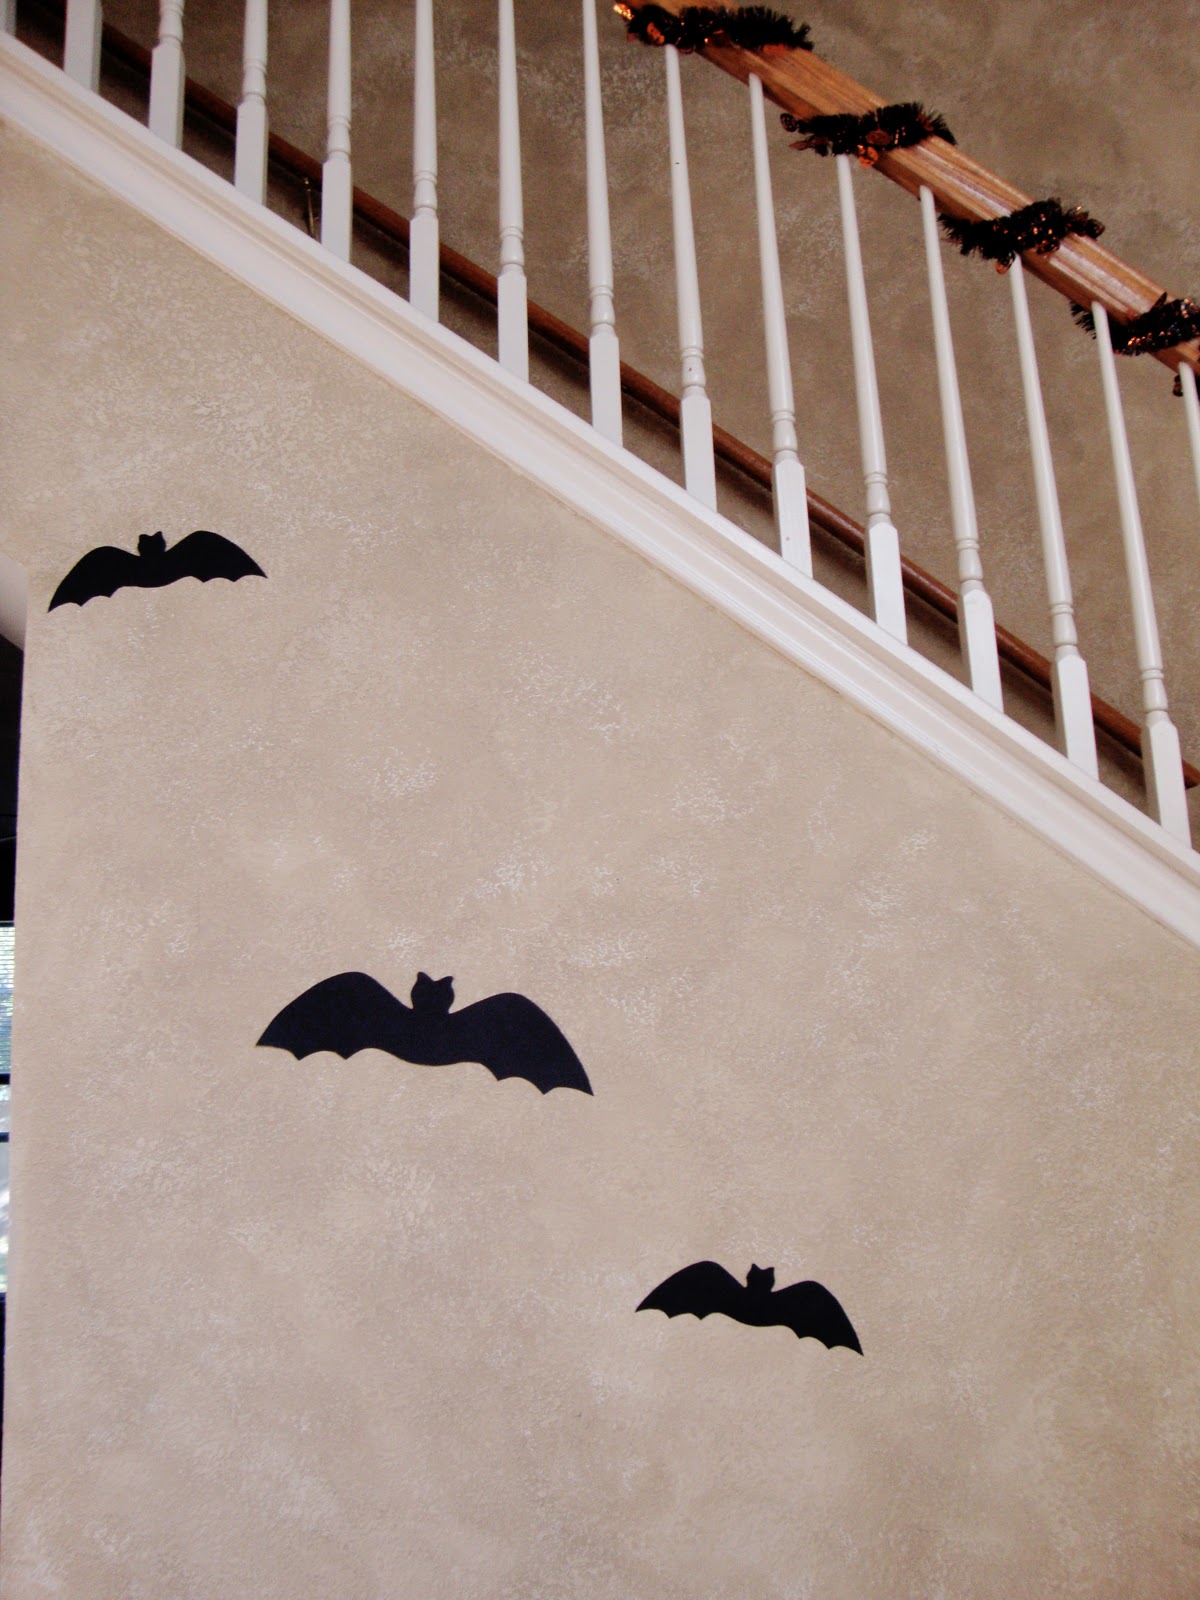
I had to take my Halloween decorations down yesterday and it made me so sad. I love them so much. I know I don't have many - I want to have a big collection now! - but I'm trying to be patient and build it up over time. *sigh* I'm not good at patience...

Until next year, fellas. I'll miss you most, mr. frankenstein!

Frankenstein candy jar (Loves candy corn... he ate four bags this October) from Target

Cute pumpkin figurines from Target

Ghost signs from HomeGoods (small) and Hobby Lobby (large)
Spooky Tree: Spray paint a regular, terracota gardening pot, grab some trees from a tree in the back yard and spray paint that too, then slap on some cute halloween-y stickers. Cute candles from HomeGoods


Pumpkin garlands from Target! I love these!

Bat silhouettes made by yours truly (Martha Stewart pattern)
Adorable Franken-sign (get it??) from Home Goods
Welcome mat from Hobby Lobby

Wednesday, November 3, 2010

Well that's not the same thing...

I tried to make these adorable "spider bites" from Bakerella to take to Tim and Kelsey's Halloween party.

Instead, I ended up with this.

Not the same.

I couldn't find black licorice wheels ANYWHERE. And I always have trouble dipping my cakeballs in chocolate. They break apart, or the chocolate isn't right, blah blah blah. In any event only a few, messy, clumpy, not very pretty cakeballs survived. And at that point we were late and tired so ... this is what we got.

How do you make cake balls that are smoothly coated and not lumpy??

Tuesday, November 2, 2010

We are the champions

We won! Every year at Kelsey and Tim's Halloween party, they name best couple costume and best individual.

We are a pregnant 50s housewife and her milkman. Get it, eh eh?

Mandy won the individual contest.... rightfully so. She's just... creepy creeperson as a boy scout. Though, Adam's pretty darn scary as the boy scout's mother.

I got asked about five times if I'm really pregnant. Including by a couple who saw me less than a week ago (Candace, I'm looking at you).

Not pregnant, and will be enjoying our recently-won dinner at Macaroni Grill.

Monday, November 1, 2010

Monkeyin' around

Happy birthday to two of my favorite crazy monkeys, Adam and Lauren!

Here's their birthday cake:


 It was pretty easy to make, and surprisingly tasty, even to me (I don't like bananas!)

Recipe: Monkey Cake from Smitten Kitchen


Preheat the oven to 350. Line the bottom of two 9" pans with parchment paper, then butter or spray with nonstick spray. Mix dry ingredients together. Cream butter and sugars. Add eggs one at a time. Add pureed bananas, sour cream, and vanilla. Add dry ingredients to wet ingredients in two batches.

Bake 40-45 minutes or until a toothpick comes out clean. Allow them to cool pretty well. Then wrap them in saran wrap and let them sit in the freezer. Usually I do this over night, this time I did it while we were at church and that was plenty long enough. Unwrap them and use a serrated knife (I used a bread knife) cut out the pattern, leaving two ears.

While frosting, I always recommend putting a thin layer and as a "crumb coat" and letting it harden in the fridge/freezer for a few minutes (I did ten in the freezer for this cake) before icing the whole thing. It just makes it go on smoother. The recipe specifically says to ice the white part of the face first, but I was in a hurry and not paying attention. Fortunately for me, my white frosting was much stiffer than my chocolate, so I was able to layer it on top of the chocolate without it bleeding through.

Time on this is pretty minimal and it makes a pretty impressive looking cake. Let's just say it was completely gone by the end of the night.

Ingredients:
3 1/2 cups cake flour
2 teaspoons baking powder
1 1/2 teaspoon baking soda
3/4 teaspoon salt
3/4 teaspoon cinnamon
1 cup unsalted butter, room temperature
1 cup sugar
1 cup packed golden brown sugar
4 large eggs
2 cups mashed or pureed very ripe bananas (5 to 6 large)
6 tablespoons sour cream
2 teaspoons vanilla extract

Frosting
4 1/2 cups powdered
1 1/2 cups unsalted butter, at room temperature
6 tablespoons half-and-half or whole milk
1 tablespoon vanilla extract
5 ounces unsweetened chocolate, melted and cooled

Mix all the ingredients except the chocolate together. Reserve about a couple of the frosting (for the face) before adding in the melted chocolate. 

Sunday, October 31, 2010

Happy Halloween!

Hope everyone has a spooky and treat-filled Halloween.

Saturday, October 30, 2010

Mirror, mirror

Ok, we've actually been done with this project for a while now, but I've sucked at blogging this month.

After adding all those pretty stripes to our bathroom, the builder's grade mirror just looked, well, boring. I found a tutorial for building a frame for your mirror and we went to town.

Carefully, we took measurements for our mirror. At home depot we found primed MDF and got the kind man to  cut it to our specifications.

At home, we painted two coats of the same color we're using for the trim in the bathroom, letting it dry well in between. It's important to paint the backs of the boards because parts of it are reflected in the mirror. We used Gorilla wood glue to glue three pieces together to form the top decoration for the frame. Again, dry. Caulk. Dry. Paint. Dry. Lots of drying time.

We then used liquid nails to glue the boards straight to the frame. If you try this project, be sure that you put the glue toward the middle of the boards, otherwise it squishes out and you can see it. It dried pretty quickly and after a couple of weeks, I can say it seems to be holding pretty solidly.

We added caulk to soften the seams where the boards meet, and along the bottom where it meets the backsplash.

It's far from perfect, but I think it adds a little something extra to the room.

Before/After:
It does throw that nasty gold vanity light into stark contrast. Definitely time to replace that!