
Mostly because I've been battling a particularly nasty head cold for the past week. When will this thing ever go away? Two bottles of Nyquil, three boxes of tissues, and more sleep than I've had in years and it still won't leave me be. The fever and sore throat are gone, but the congestion and cough just won't quit. I'm over it.
But I digress. Another reason for my lack of blog posts is that we have projects in progress, but moving slowly. The master bath that I mentioned in my last post is *almost* finished and coming along amazingly. Though, it's been a total pain in the butt.
 We started with the small little room the toilet is in. Four straight walls, no interruptions. Easy peasy and looks fantastic. We followed the Young House Love instructions and, starting at the baseboards, measured up 8.5 inches and marked off the space. We used a blue chalk line to help keep the lines straight as we taped. And we used Frog Tape. Oh my gosh, Frog Tape. I love you. You are so much better than that blue crap. I don't know how, but Frog Tape makes sure that your paint line is clean. It doesn't bleed the way the blue tape can. It's perfect. I love it and it was our life saver for this project.
After we conquered that little room, we headed out into the main bath. And realized we're idiots. Don't worry, when we called Mandy for help on it she told us just how stupid we are. There was no good way to mark off our lines. The ceiling height varies throughout the room, higher toward the middle and lower toward the outside. So we couldn't measure from the ceiling down. We couldn't measure from the floor up because of the counters, tub, and shower. And we had to find ways to make sure the lines were even across three different doorways. Stupid, I tell you.

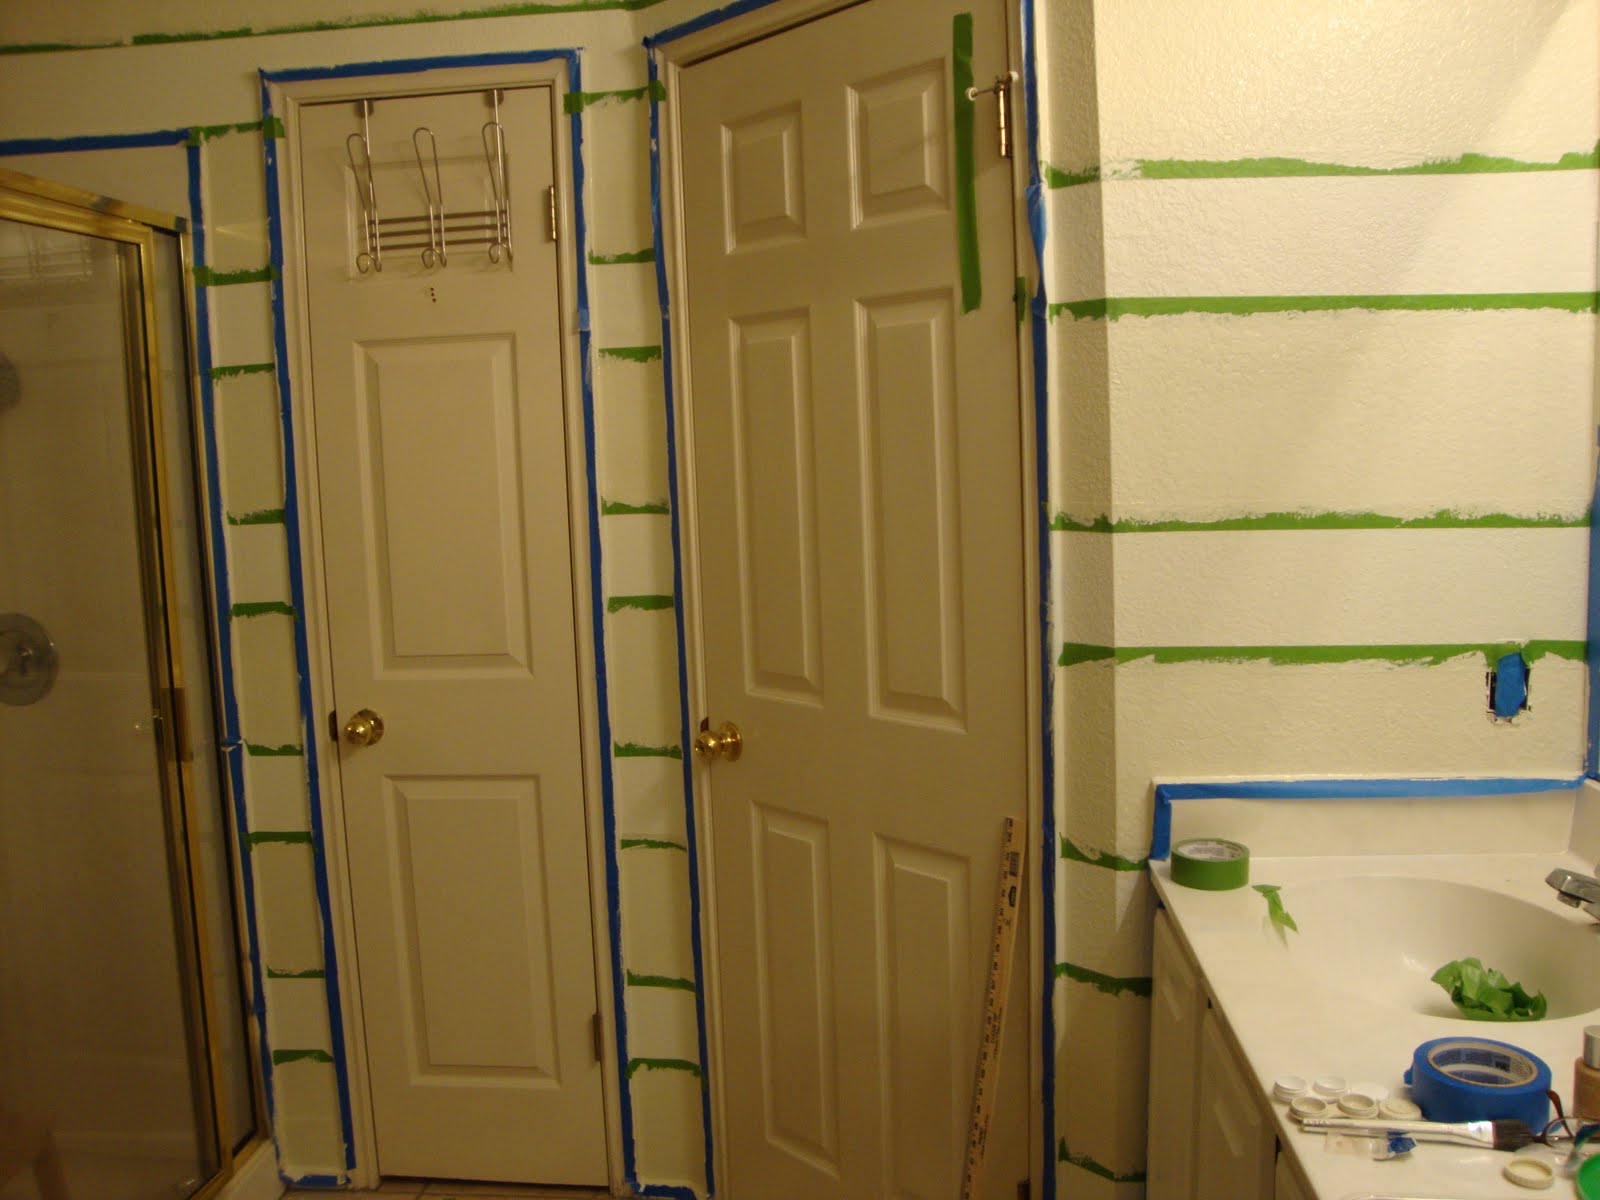


It took us about three days, a yard stick, a measuring tape, plenty of chalk tape and a laser level, but we finally got the whole thing marked off. Painting only took about an hour - it was super easy. We pulled the tape off last night and love how it looks. But haha, you don't get to see it yet. I need to go back and do some touch ups - crazy lady who owned the house before us didn't use tape when she painted the room that awful brown color, so you can see remnants of the brown (and actually the orange before her brown) on all the trim. Lovely. I promise I'll post pics as soon I'm done.
Here's a preview of what it looks like in progress... that's a lot of measuring and taping. Stupid.

Benjamin Moore - Best consistency, easiest to apply, best coverage, most expensive
Glidden - Good consistency, though slightly thin; easy to apply; good coverage; cheapest
Valspar - Super thick, tacky feeling, hard to apply, uneven coverage, mid-cost
Stay tuned for before and after pics!
Wow, that's an incredible taping job. I'm looking forward to the after photos!
ReplyDeleteThanks for the review on the paints.
Currently all painting activity has ceased in my world in favor of moving the furniture around :)
I just used blue tape to paint my room a few weeks ago and now I have little paint bleeds all over the place. BAAAH!! Wish I had read about frog tape earlier!
ReplyDelete